Support document for Xero
Table of content
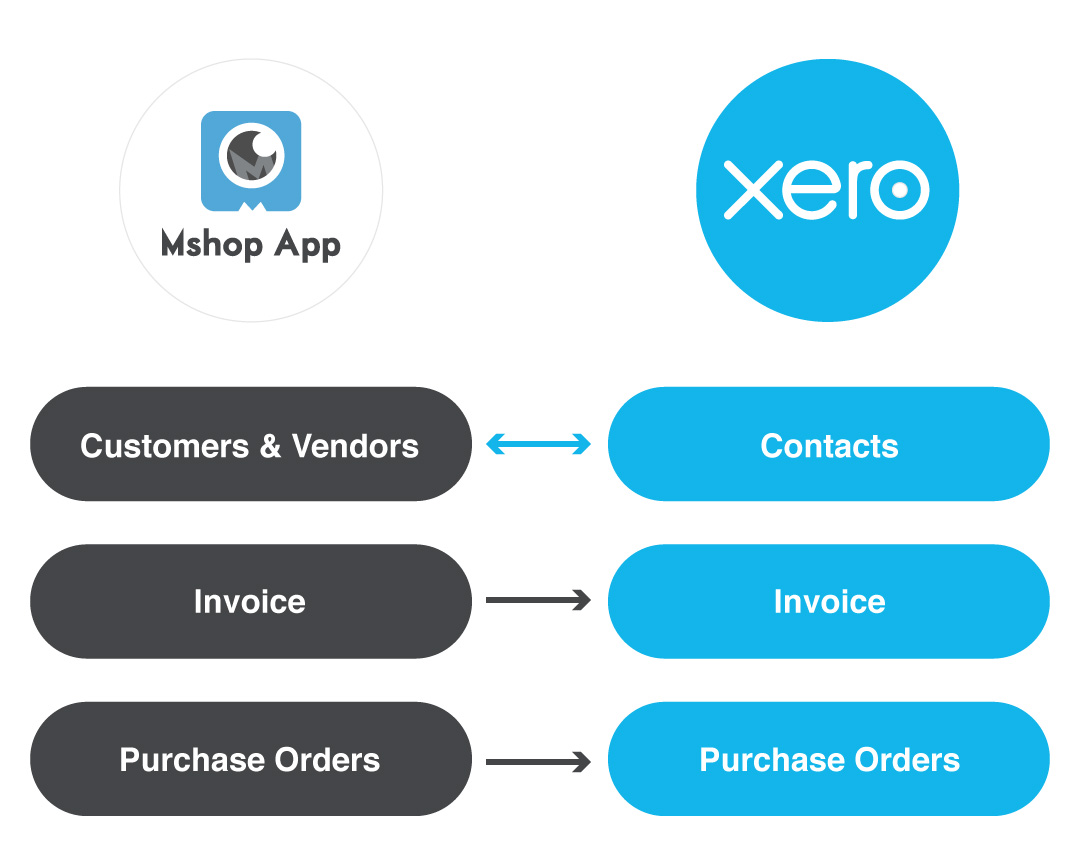
1. Data flow diagram
2. Getting started
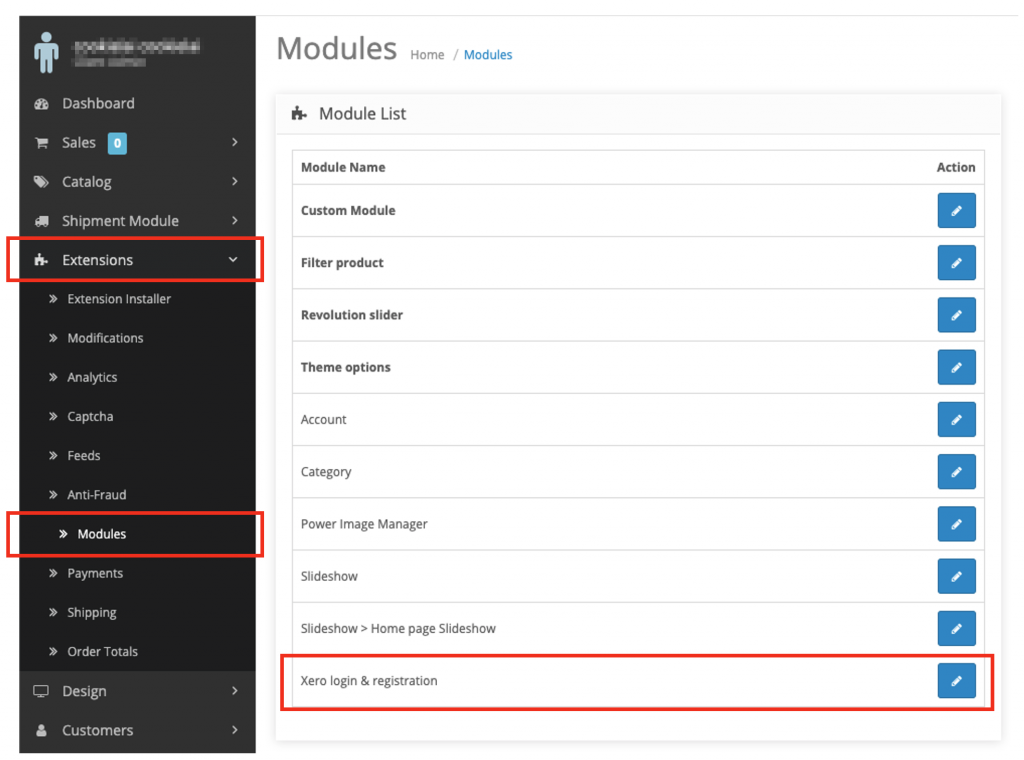
Step 1 Location
Extensions ⮕ Modules ⮕ Xero login & registration
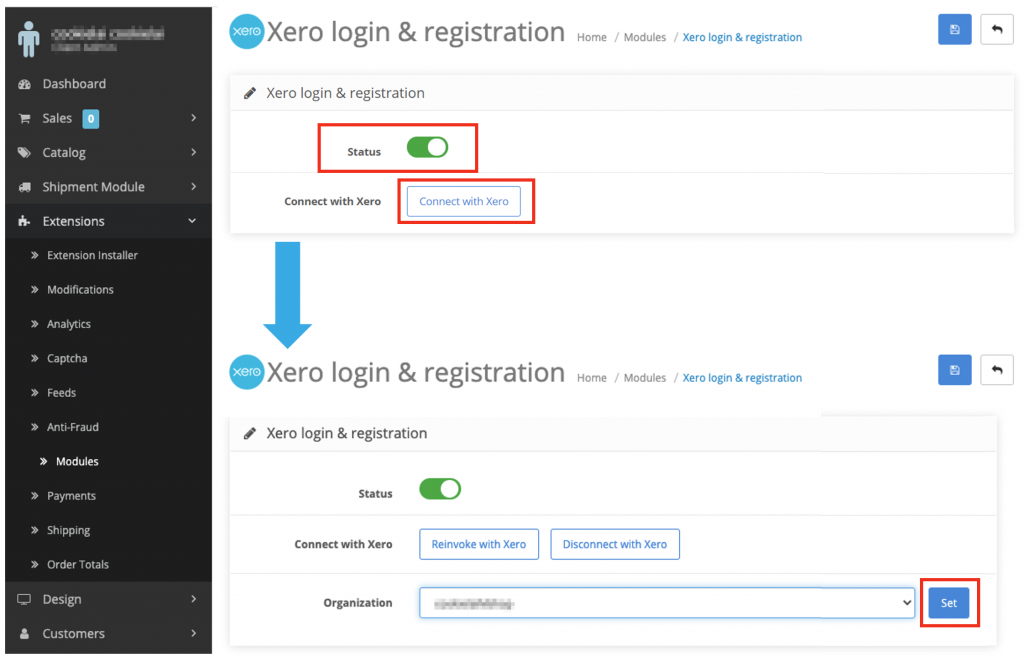
Step 2: Connect to Xero
Connect the Xero account. ⮕ Status : switch ON ⮕ Click the button [Connect with Xero] ⮕ Xero login & registration ⮕ Login Xero account ⮕ Click the button [ Set ]
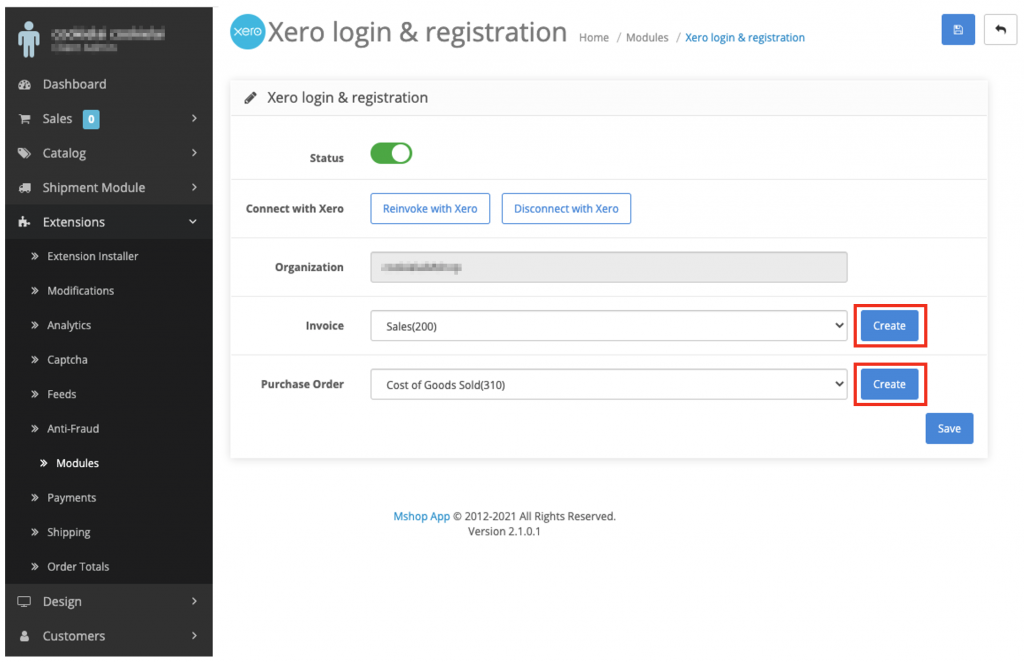
Step 3: Select accounts
Select the accounts from your Xero charts of accounts for handling Invoice and Purchase Order.
You can also create a new custom account by clicking [Create].
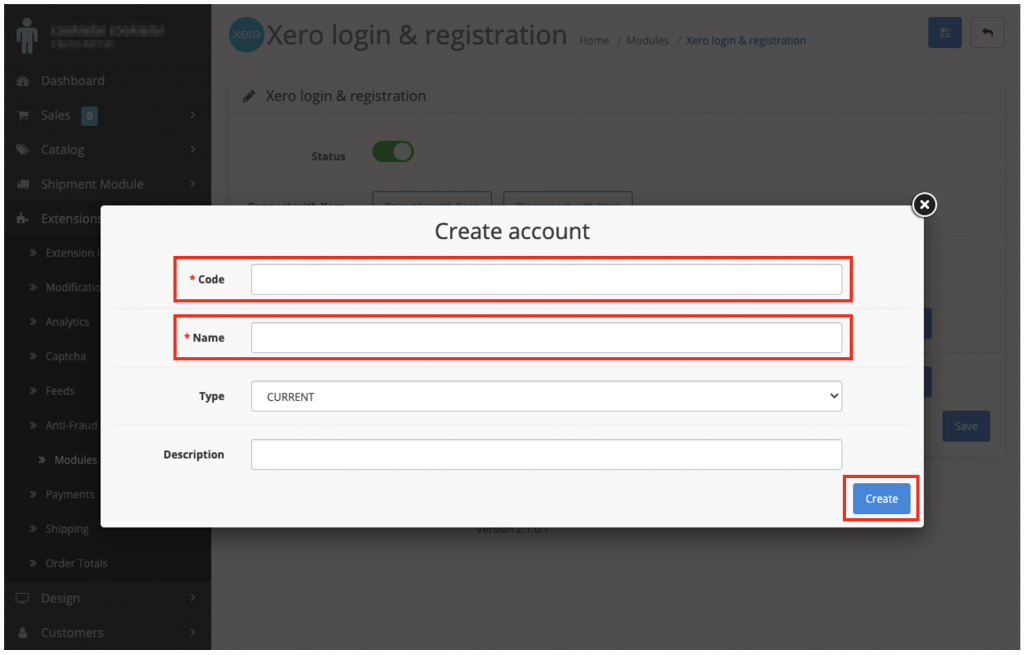
Step 4: Create new account (Optional)
Create new account ⮕ Enter Code & Name ⮕ Click the button [Create]
Step 5: The setup is done.
After setup, your page should look like the picture below.
You can create new orders and upload them to Xero now.

3. Upload Invoices / Purchase Orders
Case 1: Upload multiple orders at once
Step 1: Location
Sales ⮕ Order ⮕ Click the button [Upload to Xero]
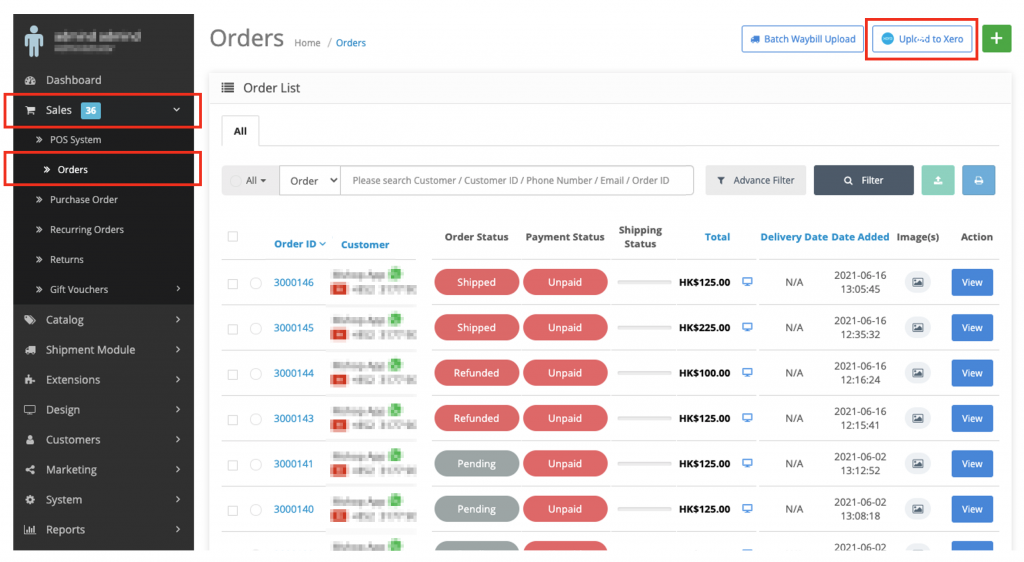
Step 2: Select the orders
Select Order Status ⮕ Click the button [Confirm and Upload]
*Date range fields are optional.

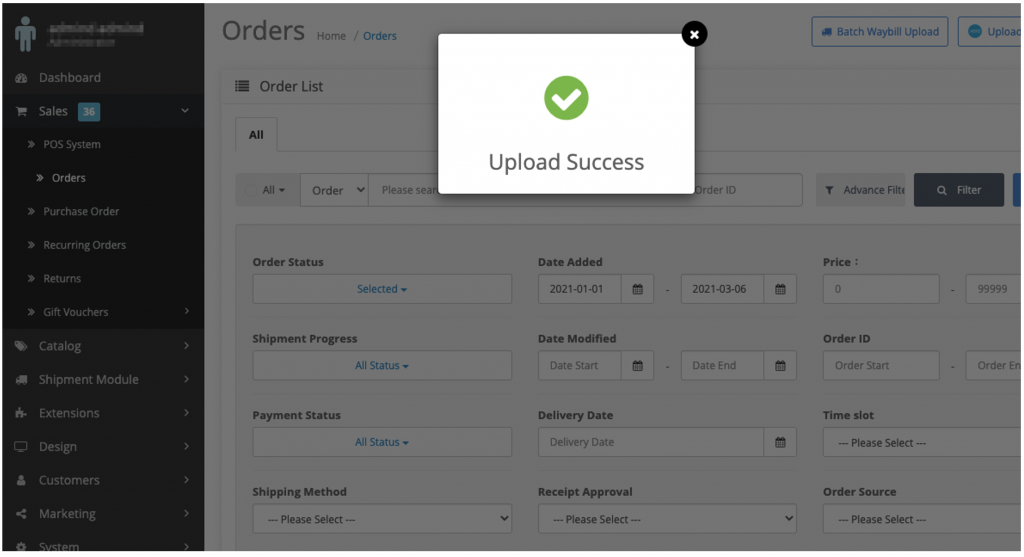
Step 3: Upload Success
When the order is uploaded to Xero successfully, a popup message ”Upload Success” will be shown as below.
The order upload is complete.
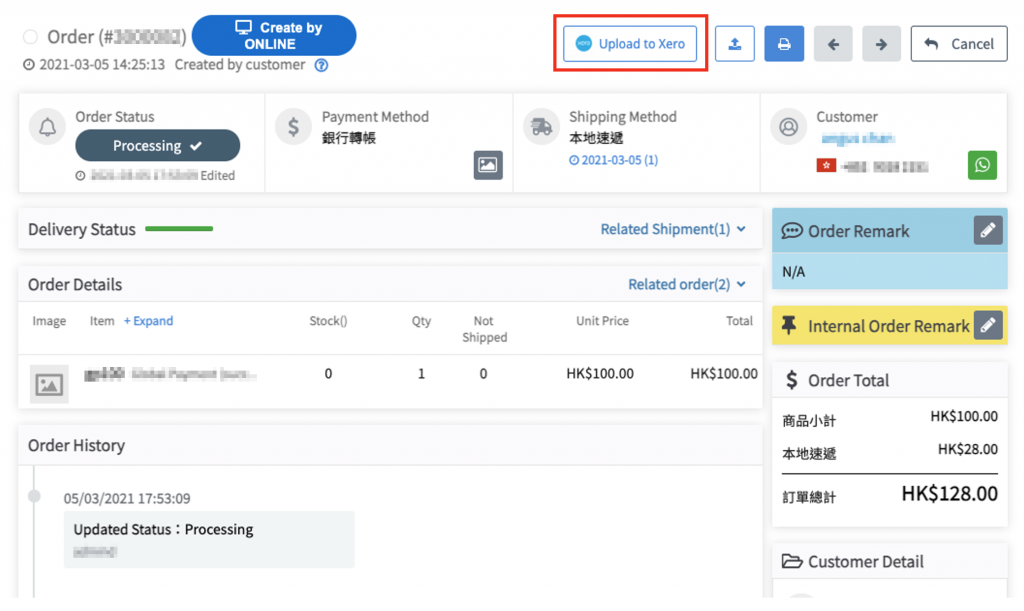
Case 2: Upload single order
Step 1: Upload single order
Go to the order page ⮕ Click the button [Upload to Xero]
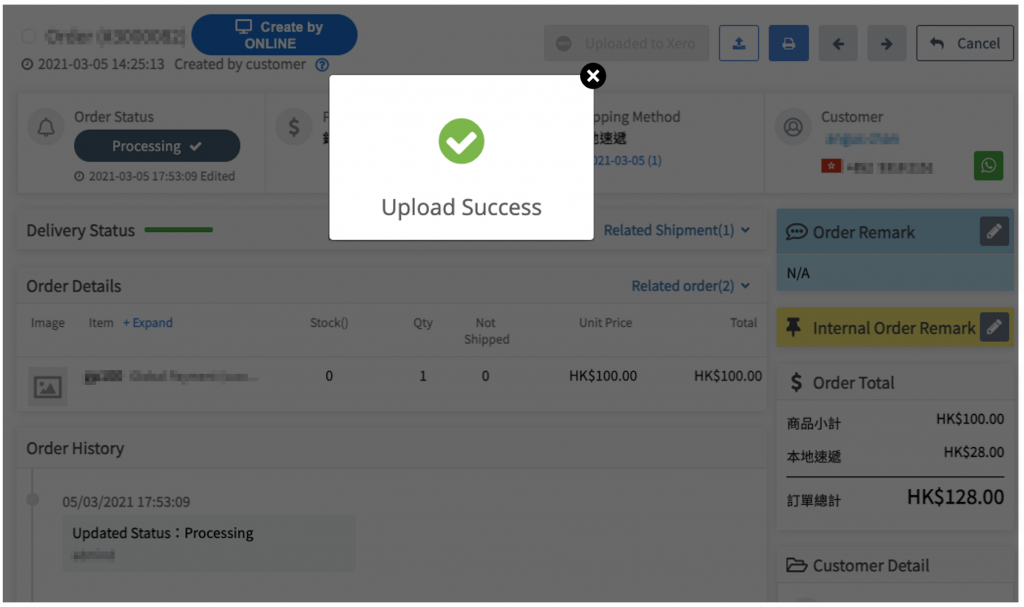
Step2 Upload Success
When the order is uploaded to Xero successfully, a popup message ”Upload Success” will be shown as below.
The order upload is complete.
4. FAQ
Q1. How do I disconnect from Xero?
Click the button [ Disconnect ] from the Xero login & registration Page. ⮕ Done.
Q2. What does your integration do?
- The invoices and purchase orders from Mshop App platform can be uploaded to Xero through this integration.
- This integration syncs your supplier and customer contacts from the selected invoices and purchase order to Xero.
Q3. How do I reconcile sales data synced to Xero?
Go to Order/ Purchase Order page ⮕ Select the orders you want to upload to Xero. ⮕ Click the button [ Upload to Xero ]
- Each order can only be uploaded to Xero once.
- Please make sure that the orders are ready before uploading to Xero.